

Easy Halloween Craft Idea | DIY Ghost Decorations
Fill your home with the spirit of Halloween by creating these enchanting DIY ghost decorations. This project is not only easy and fun but also a wonderful way to engage with your family and add a personal touch to your Halloween decor. With simple materials and a little creativity, you’ll be able to make these adorable ghosts that will add a festive flair to your space. You may also find Bottle Cap Spinner American Flag Diy Craft useful.
Why You’ll Enjoy This Project
- Family-Friendly Fun: This project is simple enough for kids to participate, allowing for precious family bonding time.
- Budget-Friendly: You can create these ghosts using inexpensive materials that you may already have at home.
- Customizable: Adjust the size, face, and decorations of your ghosts according to your personal style or seasonal themes.
- Creative Expression: It encourages creativity, whether it’s through painting, decorating, or crafting.
- Spooky Atmosphere: These ghosts will undoubtedly bring a fun and spooky vibe to your Halloween celebrations.

You may also find Bubble Dough Sensory Play Kids Easy Diy Activity useful.
Materials You’ll Need
- White nylon stockings or cheesecloth
- Black marker or fabric paint
- Cotton balls or plastic grocery bags (for stuffing)
- Fishing line or string (for hanging)
- Scissors
Feel free to substitute any of these materials with what you already have at home. For example, old white sheets can work in place of the stockings or cheesecloth. You may also find Diy Bubble Printed Butterfly Wings Craft For Kids useful.

How to Make Easy Halloween Craft Idea | DIY Ghost Decorations
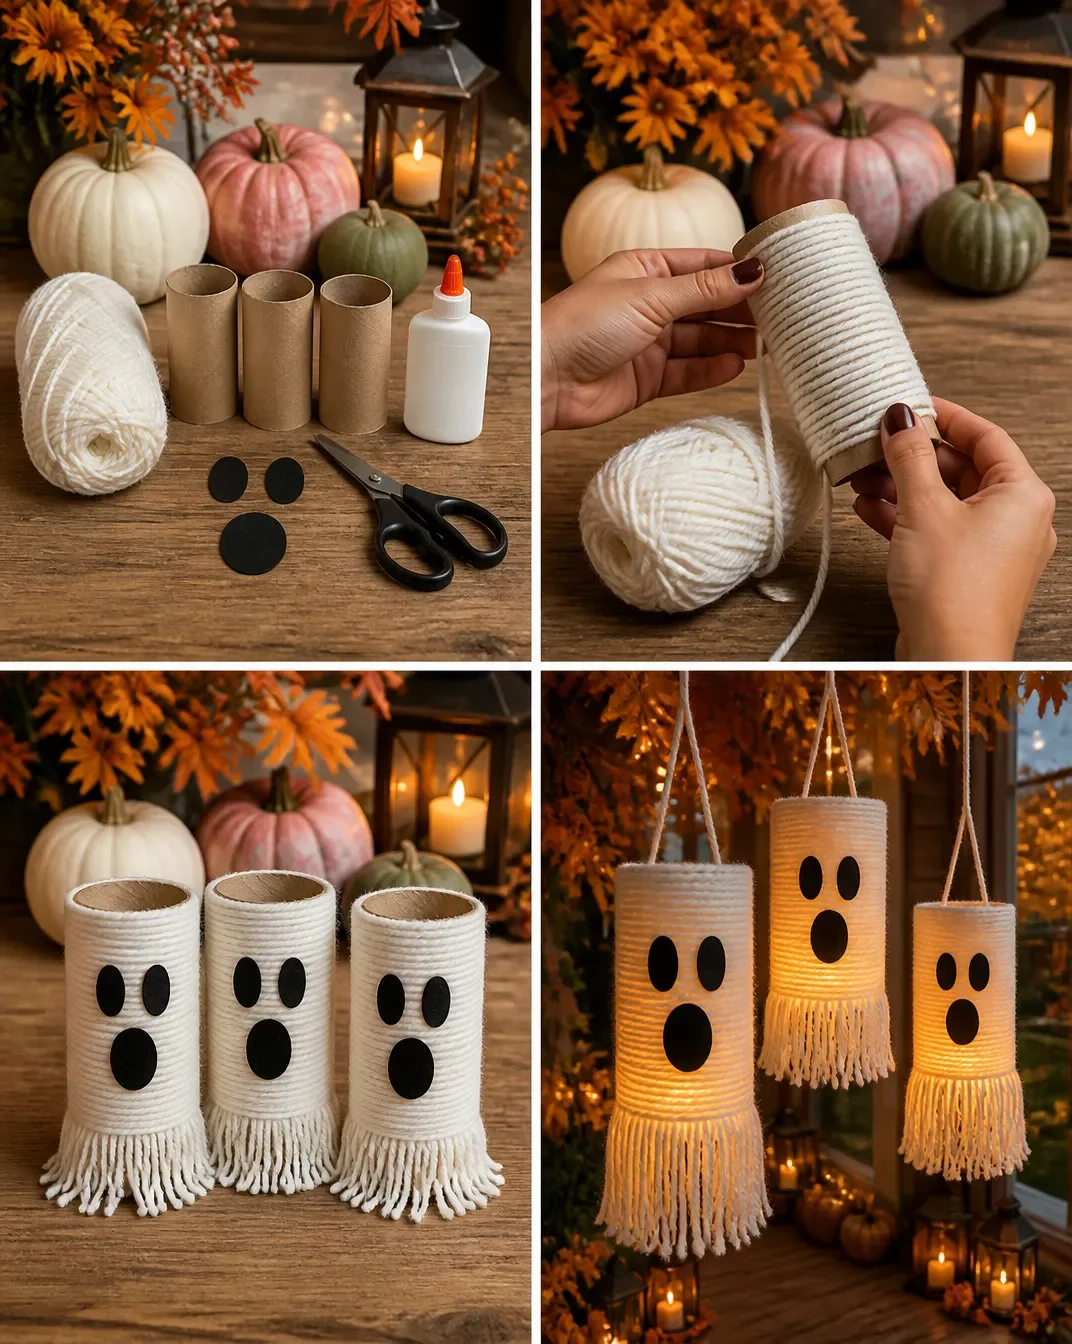
Prepare the Fabric: Take your white nylon stockings or cheesecloth and cut them to a suitable length, depending on how big you want your ghost to be.
Shape the Ghost: Stuff the bottom of the fabric with cotton balls or plastic bags to form the ghost’s body. Leave enough space at the top to create a head.
Gather and Tie: Gather the top of the fabric to form a head and secure it tightly with string or fishing line.
Create the Face: Use a black marker or fabric paint to draw eyes and a mouth on your ghost.
Display Your Ghosts: Hang them from trees, porches, or anywhere you like to create a spooky ambiance.
To enhance your Halloween decor further, you could create a lovely ghost garland to complement your ghost decorations.
Helpful Tips
- Choosing the Right Material: When selecting the fabric, opt for lightweight materials to ensure your ghosts float delicately in the air.
- Supervision: If kids are involved, supervise them while using scissors and markers to ensure safety.
- Clean Up: Consider doing this project outside to minimize cleanup, especially if you decide to paint your ghosts.
Easy Variations
- Glow-in-the-Dark Ghosts: Use glow-in-the-dark fabric paint for the ghosts’ faces to make them glow at night.
- Colored Ghosts: Experiment with different colors besides white to create vibrant variations.
- Mini Ghosts: Make smaller versions to hang on window sills or inside plants.
- Bigger Ghosts: Scale up the design for larger, dramatic decorations in your yard.
Making This Craft With Kids
This craft is suitable for kids of all ages with a little supervision, especially when it comes to cutting and drawing. Encourage them to express their creativity by making unique faces or designing their ghosts in various colors.
How to Display or Use It
Once your ghosts are complete, you can hang them from trees or on your front porch to greet trick-or-treaters. They can also add a touch of whimsy to your indoor decor, perhaps alongside themed props like pumpkins and spiders.
Frequently Asked Questions
How long will these decorations last?
If properly handled, these ghost decorations can last all season and can even be stored for future Halloweens.
Can I use other materials for stuffing?
Yes! Plastic grocery bags or crumpled paper also work well for creating a st■ ghost.
What should I do if it rains?
If it’s going to rain, consider relocating your ghosts to indoor spaces to keep them safe and dry.
How can I make my ghosts hang securely?
Make sure to tie the fishing line tightly around the fabric to prevent it from slipping.
Can I use colored material instead of white?
Absolutely! Colored fabric can make for a fun twist on these classic ghost decorations.
Are there other crafts I can combine with this project?
Consider making a pine cone bat to accompany your ghost decorations for a complete Halloween theme.
Conclusion
Making these easy DIY ghost decorations is a perfect way to embrace the Halloween spirit while spending quality time with family. For more inspiration, check out 20 Boo-tiful Ghost Crafts for Halloween and learn about various ghost crafting ideas. You can also reference DIY Halloween Ghosts for creative alternatives and techniques to enhance your ghost-making experience.
Print
DIY Ghost Decorations
- Total Time: 15 minutes
- Makes: Multiple ghosts
Description
Create enchanting DIY ghost decorations that add a spooky flair to your Halloween decor. Perfect for family bonding and customizable to your personal style.
Materials
- White nylon stockings or cheesecloth
- Black marker or fabric paint
- Cotton balls or plastic grocery bags (for stuffing)
- Fishing line or string (for hanging)
- Scissors
Instructions
- Prepare the fabric: Take your white nylon stockings or cheesecloth and cut them to a suitable length.
- Shape the ghost: Stuff the bottom of the fabric with cotton balls or plastic bags.
- Gather and tie: Gather the top of the fabric to form a head and secure it tightly with string.
- Create the face: Use a black marker or fabric paint to draw eyes and a mouth on your ghost.
- Display your ghosts: Hang them from trees, porches, or anywhere you like.
Notes
Use lightweight materials for the ghosts to float delicately. Supervision is recommended for kids using scissors and markers.