

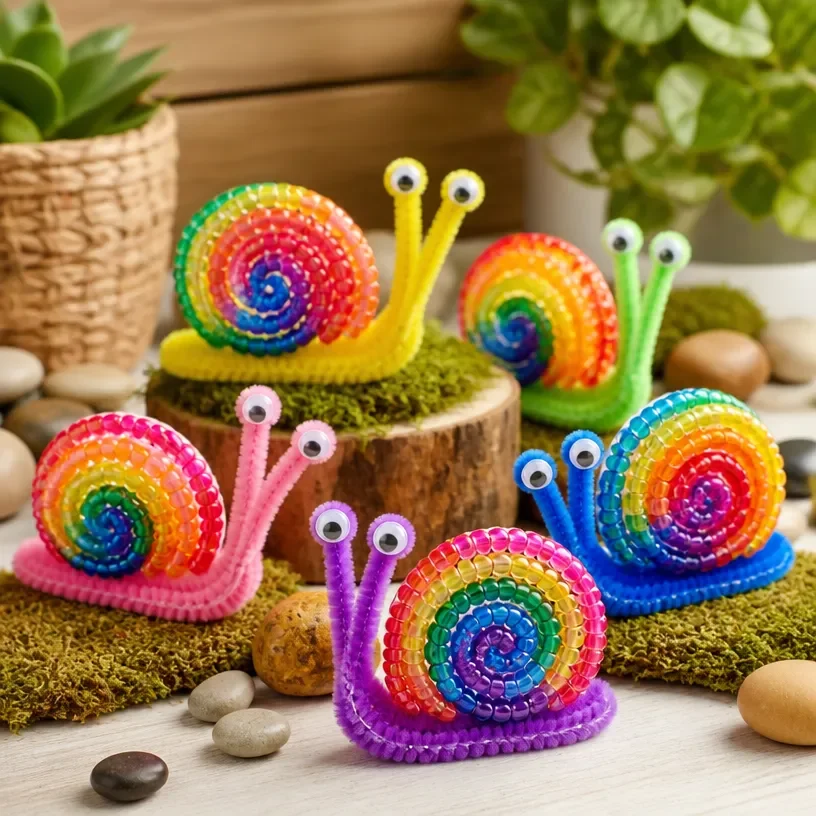
Easy Rainbow Beaded Pipe Cleaner Snails
Creating colorful rainbow beaded pipe cleaner snails is a delightful craft that both kids and adults can enjoy together. These snails are not only cute but also provide a wonderful opportunity for families to bond while exploring their creativity. You and your little ones will love how simple and fun it is to make these charming little creatures, making them perfect for playtime or decoration. You may also find Beaded Pipe Cleaner Snail Craft For Kids 2 useful.
Why You’ll Enjoy This Project
- Fun for All Ages: This craft is suitable for both kids and adults, making it a versatile activity for families or classrooms.
- Encourages Creativity: With various colors and designs, each craft becomes unique, allowing for individual expression.
- Simple Materials: The project uses readily available supplies, making it an affordable option for crafting. In fact, if you enjoy pipe cleaner crafts, you might like this easy pipe cleaner butterfly craft too!
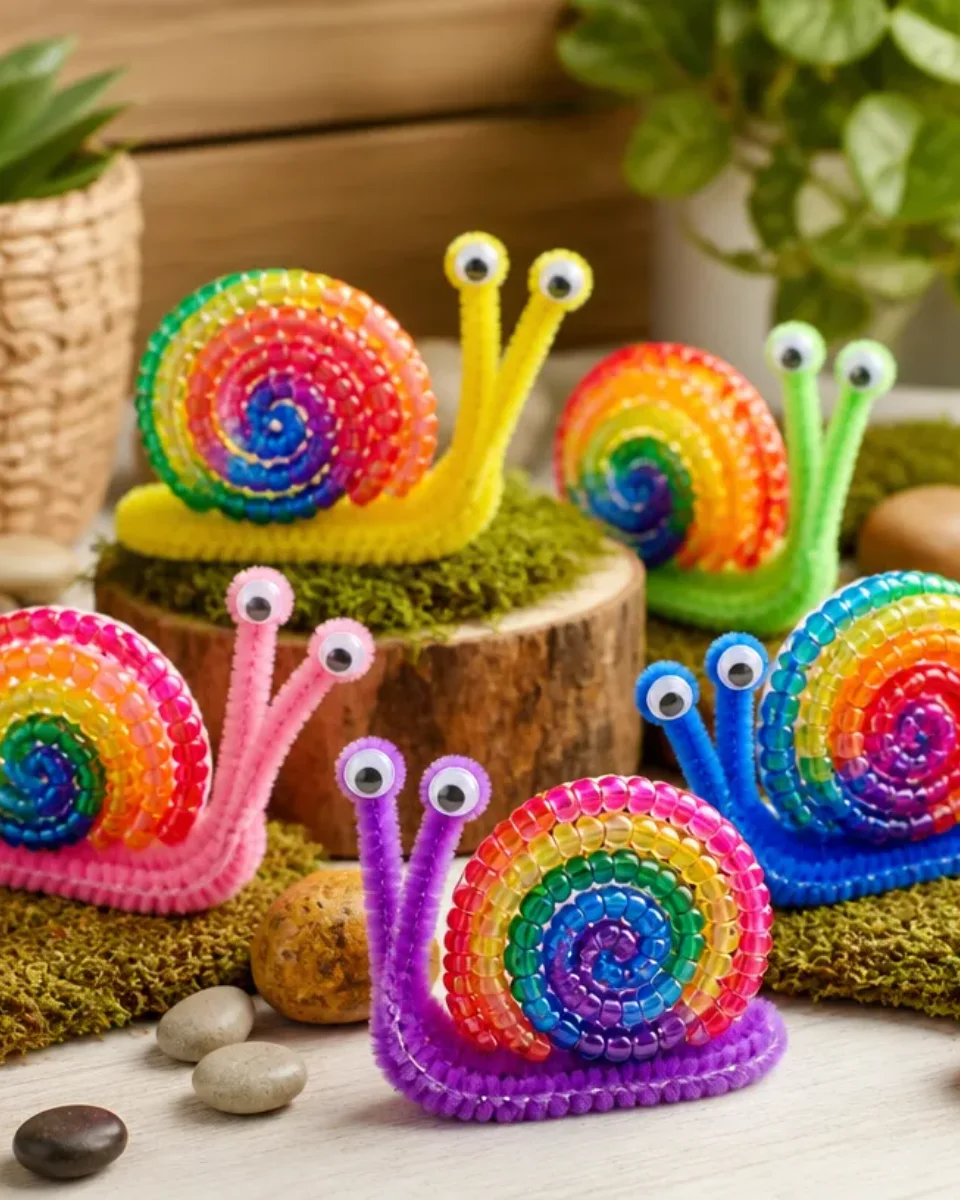
You may also find Beaded Pipe Cleaner Snail Craft For Kids useful.
Materials You’ll Need
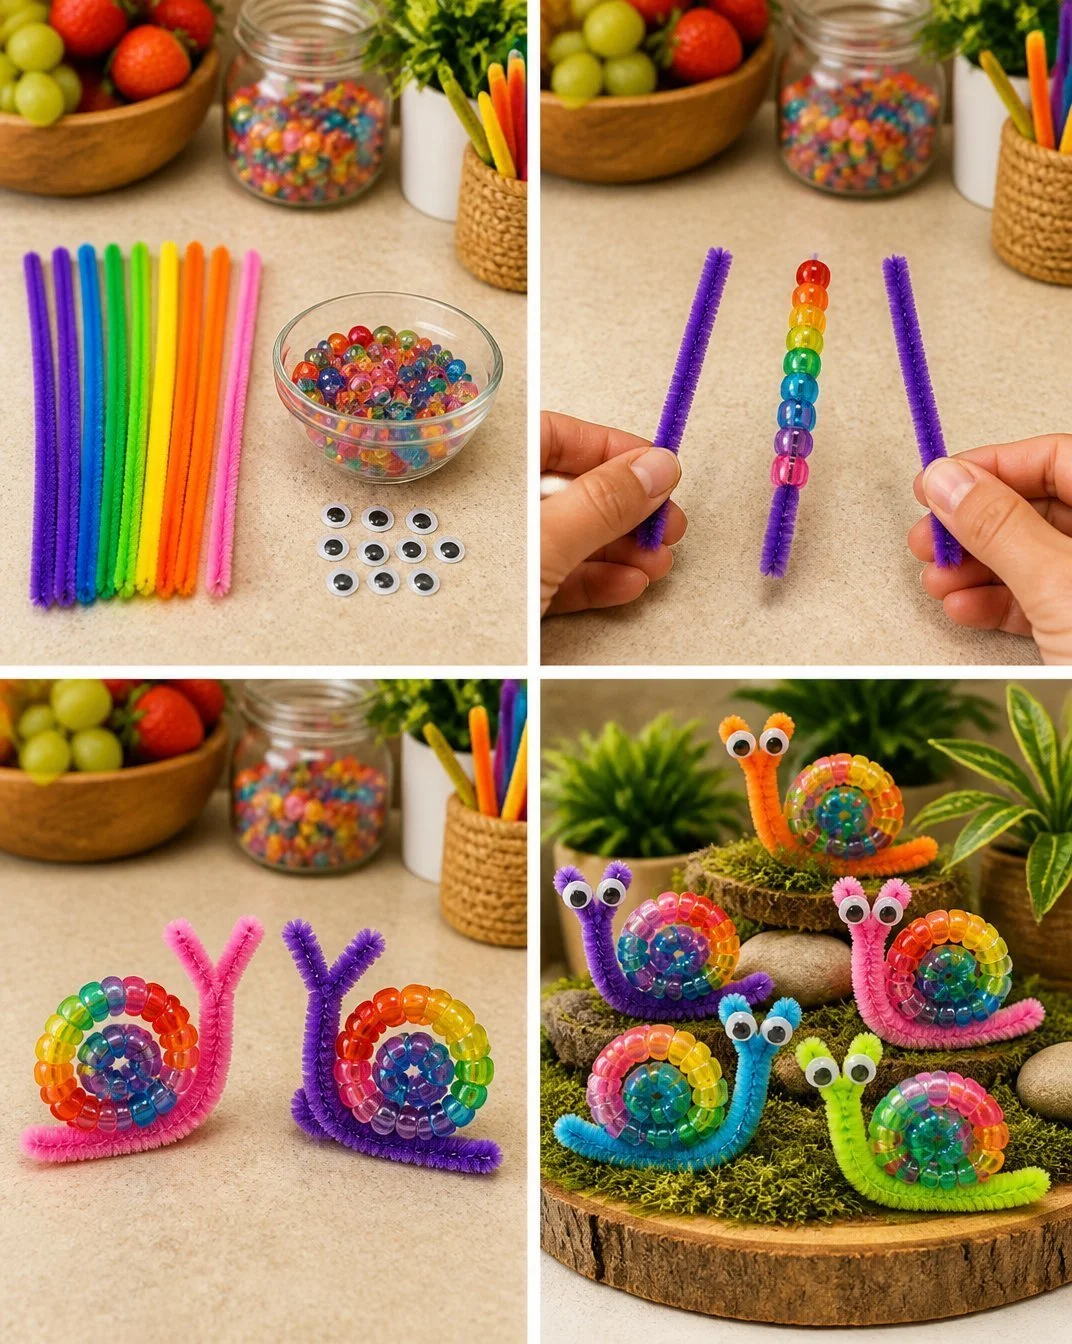
- Pipe cleaners (preferably in various colors)
- Beads (colorful and large enough for kids to handle)
- Scissors
- A small piece of cardboard (optional, for display)
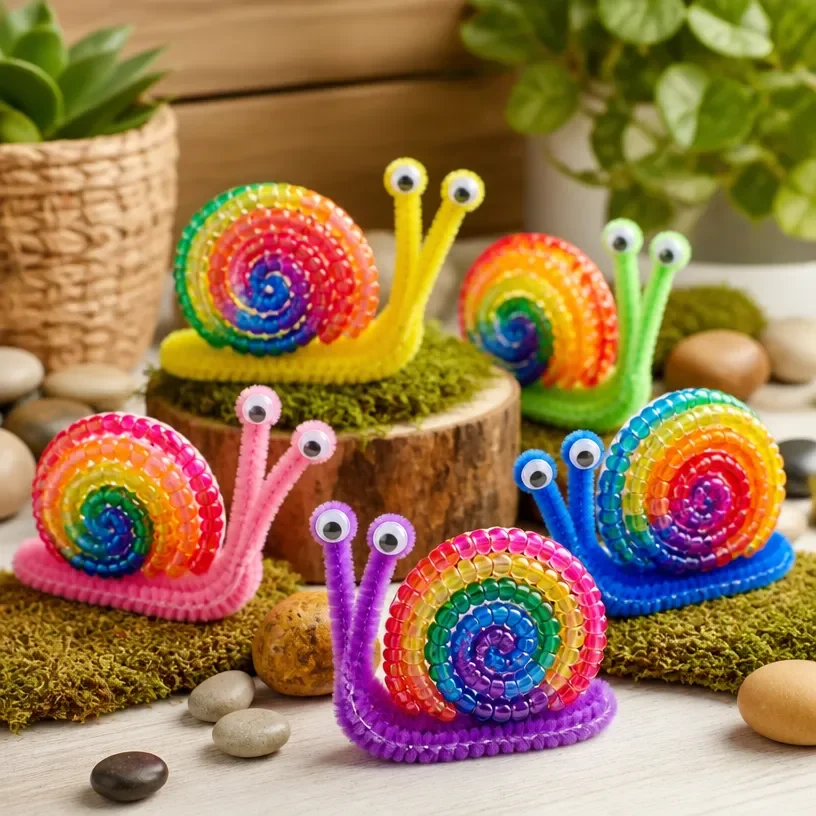
How to Make Easy Rainbow Beaded Pipe Cleaner Snails
Cut the Pipe Cleaner: Take a pipe cleaner and cut it into two pieces: one about 12 inches long for the body and the other about 6 inches long for the shell. You may also find Easy Pool Noodle Rainbow Stamp Painting useful.
Create the Shell: Take the shorter piece and bend it into a spiral shape. This will become the snail’s shell. Make sure it’s tight enough that it holds its shape. You may also find Pipe Cleaner Butterfly Craft For Kids useful.
Attach the Beads: String beads onto the longer pipe cleaner until you have a colorful section that will be the snail’s body. Feel free to mix and match colors to create a vibrant snail.
Combine the Shell and Body: Twist the spiral shell onto one end of the beaded pipe cleaner body. You can adjust the shell’s position to get the perfect look.
Add Antennae: Take a small piece of pipe cleaner, fold it in half, and attach it to the front of the body. These will serve as your snail’s antennae, making it extra adorable.
Helpful Tips
- Use Varying Sizes of Beads: This can provide a more dynamic range in your snail’s design, making it visually interesting.
- Be Mindful of Sharp Edges: Be cautious when cutting the pipe cleaners, especially if younger kids are helping. An adult should supervise to ensure safety.
- Dry and Display: Let your snails dry if they are going to be painted or have glue; otherwise, find a nice way to display them, such as on a shelf or as part of a larger craft arrangement.
Easy Variations
- Change Up the Colors: Use earth tones for a more natural look or neon colors for a bright, fun effect.
- Make Larger Snails: Use longer pipe cleaners to create giant snails for garden displays.
- Seasonal Themes: Incorporate colors and decorations that relate to holidays or seasons, such as pastels for spring.
Making This Craft With Kids
This project is ideal for children with adult supervision, especially during the cutting phase. Encourage kids to express themselves by choosing their own colors and patterns. This helps in developing fine motor skills while crafting.
How to Display or Use It
These adorable snails can be displayed on shelves, used as table centerpieces, or even gifted to friends and family. They also make great additions to a nature-themed craft corner or can be used as unique garden decorations.
Frequently Asked Questions
What age is this project suitable for?
This project is recommended for kids aged 5 and up, with supervision required for younger children.
Can I use different materials?
Yes! You can experiment with different types of beads or even leave out the beads entirely for a simpler snail design.
How long does this project take?
The entire project can be completed in about 30 minutes to an hour, depending on how creative you get with your designs!
Are there eco-friendly options for materials?
Consider using biodegradable or recyclable materials wherever possible to make this craft more eco-friendly.
Can I use this craft for educational purposes?
Absolutely! This is a great way to teach colors, shapes, and even basic physics when discussing how snails move.
Conclusion
Making Easy Rainbow Beaded Pipe Cleaner Snails can be a delightful experience for families. These charming little creatures are not only a joy to create but can also serve as a learning tool for color recognition and motor skills development. For more inspiration, check out the list of 25 easy pipe cleaner crafts your kids will love. Additionally, if you’re interested in creating similar crafts, you can learn more about how to make a beaded snail for even more fun!
Print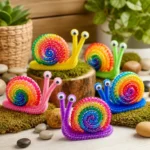
Easy Rainbow Beaded Pipe Cleaner Snails
- Total Time: 40 minutes
- Makes: 1 snail
Description
Create colorful rainbow beaded pipe cleaner snails with this simple and fun craft! Perfect for family bonding and encouraging creativity.
Materials
- Pipe cleaners (various colors)
- Large colorful beads
- Scissors
- Small piece of cardboard (optional)
Instructions
- Cut the pipe cleaner into two pieces: one 12 inches long and another 6 inches long.
- Create a spiral shape with the shorter piece for the snail’s shell.
- Attach beads onto the longer pipe cleaner for the snail’s body.
- Combine the shell and body by twisting them together.
- Add antennae by folding a small piece of pipe cleaner and attaching it to the front.
Notes
Use varying sizes of beads for a dynamic design. Supervise young children during cutting for safety.